In this post I will show you how to scratch build that dreaded Tau tank-buster, the Broadside.
However before I go any further I want it made clear that I am no master of painting or modelling. Any scratch builder with decent skill should easily be able to figure out how to make this, and this tutorial is for those who can't.
Thanks to the Golden Bolter Society for providing the template.
For this project you will need:
-PaperHammer 40k.rar (Credit to the Golden Bolter Society)
-Paper and/or cardboard (about cereal box thickness)
-Scissors
-Paper glue (super glue is a good alternate for the less patient among us)
-Straight objects such as match sticks, tooth picks, lollipop sticks, ect.
1- Open PaperHammer 40k.rar.
*Navigate to PaperHammer 40k/Tau/Broadside Battle Suit, then extract the files 'Broadside - Parts 01 of 02.jpg' and 'Broadside - Parts 02 of 02.jpg'.
*Print these on the thickest paper your printer can handle or stick them to cardboard (about cereal box thickness).
2- Now, we will start with the body, this can be found on 'Broadside - Parts 01 of 02.jpg'. Cut out the main body piece at the top left of the sheet.
*Fold along the lines away from you, so that you can still see the printed black lines once it is folded.
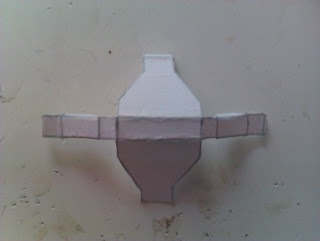 *Fold the two large tabs down so that they are parallel to each other.
*Fold the skinny tabs down so that they fill the gap between the two larger tabs.
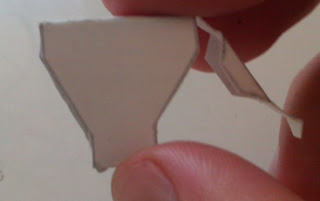
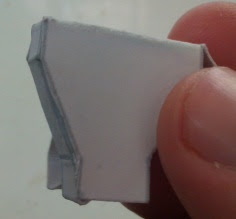
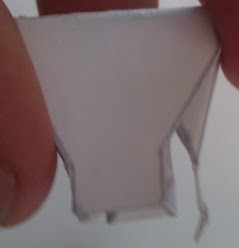
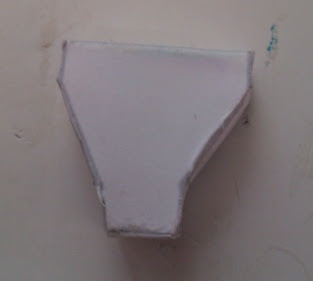 *Cut out the piece at the top right of the sheet (ignore the piece in the top middle, I'm not sure where that goes!) and fold it away from you so that you can still see the black lines once it's folded.
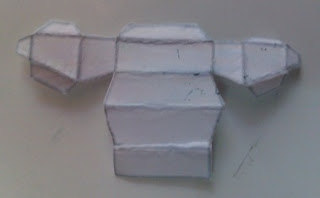 *Fold the middle pointed tab to make a 'roof', use the rectangular tabs on either side to make two 'walls' and use the other tabs to fill the gap at each end. This is the chest piece.
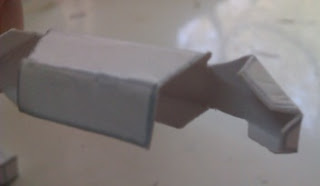
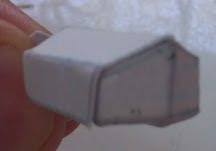
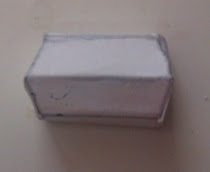 *Once you have glued the chest piece onto the main body piece, you have finished the body.
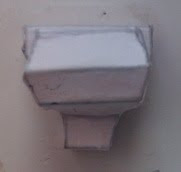
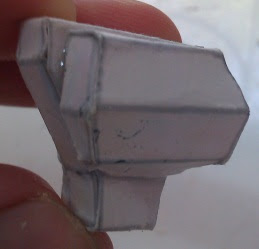
3- We will now make the jetpack. This consists of two parts, the jetpack:
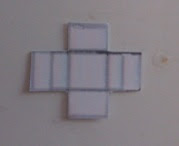 *To make the jetpack, first fold it as you have folded the previous pieces. Then fold the largest tabs so that they are parallel to each other.
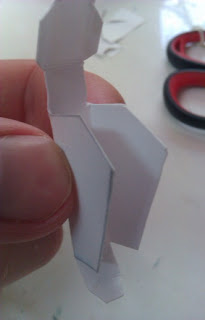 *Fold the remaining tabs so that they cover the gaps.
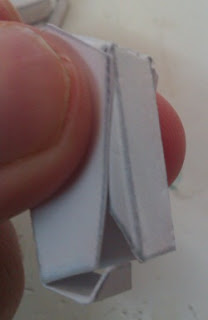
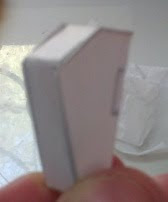 *This forms one half of your jetpack. Repeat for the other half.
*To join your jetpack to the body you could choose to either glue them to the one joiner, or give them each a joiner and glue them separately to the body. I have chosen to use only one joiner.
*To make the joiner, fold it so that it forms a cube shape. You will need to trim the bottom edges to make all sides equal length.
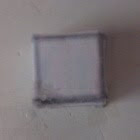
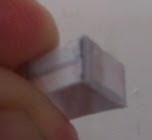 *Glue your jetpacks onto the joiner.
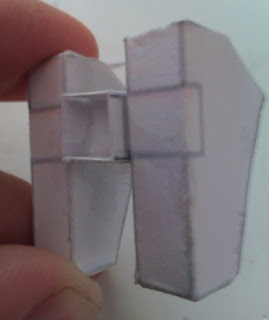 *Then attach it to the main body.
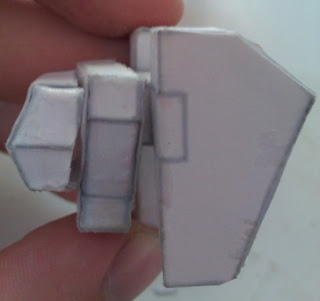
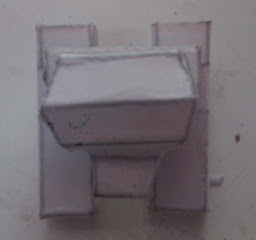
4- Now we will make the arms, starting with the shoulder.
*On 'Broadside - Parts 01 of 02', the shoulder is the small, funny looking template with what appears to be an arrow coming out of it. The idea here is to fold all the little arms down, and the tabs down behind the center piece. The 'arrow' then folds over all the tabs at the back, making a solid shoulder piece with no gaps.
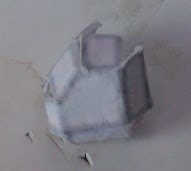

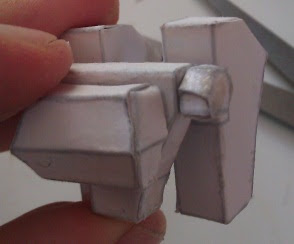 *Next is the elbow. This is the middle-sized template, and you make it in a similar way to everything else, folding the larger tabs so they are parallel, then folding the smaller tabs around them to cover the gaps.
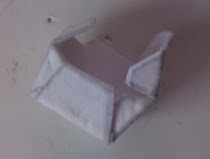
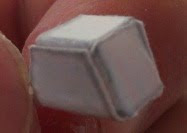
*After the elbow is the smart missile system. You make this in the same way you would make a rectangular prism.
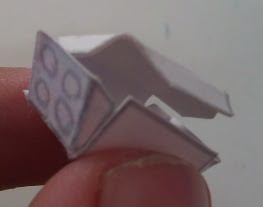 *You must now join thse together. For this job I glued three match sticks together to act as limbs.
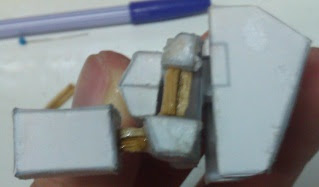
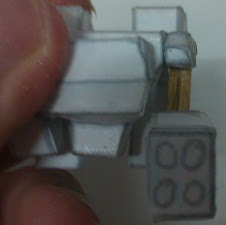 *Repeat for the other arm.
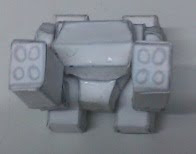
5- There's now one main thing the upper body is missing, the head!
*You construct the head by folding the tabs down as usual, with the larger tab folding over the top of the others to cover the gap. (I pushed one of the tabs in on itself a little bit in order to create an indented area for the face.)
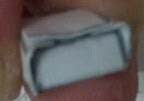 *You need to then stick the 'ears' on thicker cardboard, cut them out and stick them on the head.
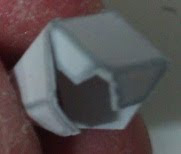
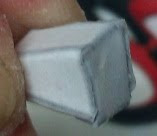
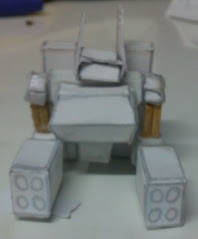 *The last piece for the head is the bit behind the head. Continue to fold down as normal, and you should end up with a piece that is higher at the front, sloping down and becoming smaller at the back.
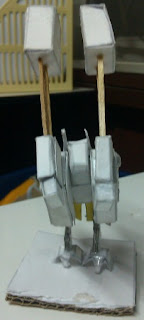
6- Our Broadside's upper body is now complete (except for the gun, which we will add later). He now needs legs and feet.
*For the feet, take the larger foot template from 'Broadside - Parts 02 of 02'.
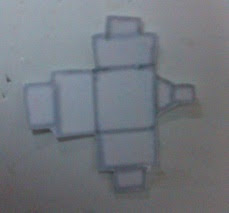 *Slightly fold the tabs down, so that it is standing on all four points of it's foot.
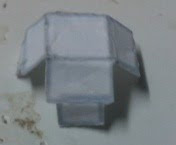 *Do the same with the smaller foot template, and glue it on top of the larger one.
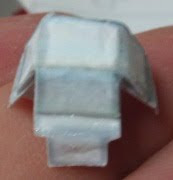
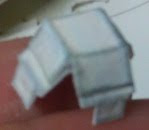 *The legs are fairly simple. Glue three together to form one thick leg, if it doesn't seem thick enough then add some cardboard. Once you are satisfied with the leg, glue the rounded end on one side of the body, at the thinner part near the bottom. Once this is in place glue the leg armor in place and attach the leg to the foot.
*Repeat for the other leg. (NOTE: This picture was taken before the leg armor was glued on.)
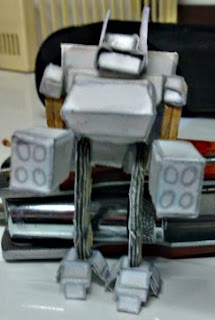
7- The final step is to attach the railguns.
*The railgun consists of three rectangular prisms, cut out and assemble each.
 *Glue the smallest piece, with the smallest face pointing upwards, to the middle piece.
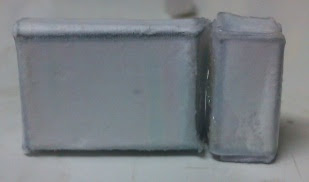 *Attach these two pieces to the largest piece. I used match sticks, however this is really up to you.
 *Repeat for the other railgun.
*Finally, attach to the Broadside, and paint!
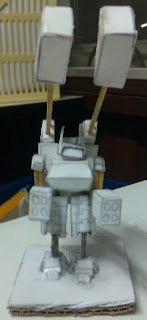
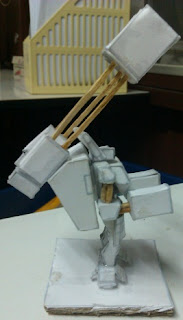


Besides being relatively simple to follow, one of the main reasons I love this template is that it is so customizable! It's simple to convert this to a Crisis Suit, and you could easily customise it to your liking, creating your own variations of Battle Suits and poses that stand out from the crowd!
Here are some variations the 40k Pirate Crew has come up with:


Happy scratch building,
40k Pirate
All associated marks, names, races, race insignia, characters, vehicles, locations, units, illustrations and images from the Warhammer 40,000 universe are either ®, TM and/or © Copyright Games Workshop Ltd 2000-2012, variably registered in the UK and other countries around the world. Used without permission. No challenge to their status intended. All Rights Reserved to their respective owners.

